PROPERTY CARE, GUIDED BY THE DETAILS. Holiday ServicesCall (937) 626-0907
Lighthouse Property Maintenance LLCLIGHTHOUSEPROPERTY MAINTENANCE LLC
A woman working on an interior door hinge while children play with blocks in the background

LITTLE FIXES. REAL LIFE.

A little know-how.
A happier home.

Simple repairs, shown one step at a time. Pick a project, follow the pictures and make a little progress.

Find your first fix ↓
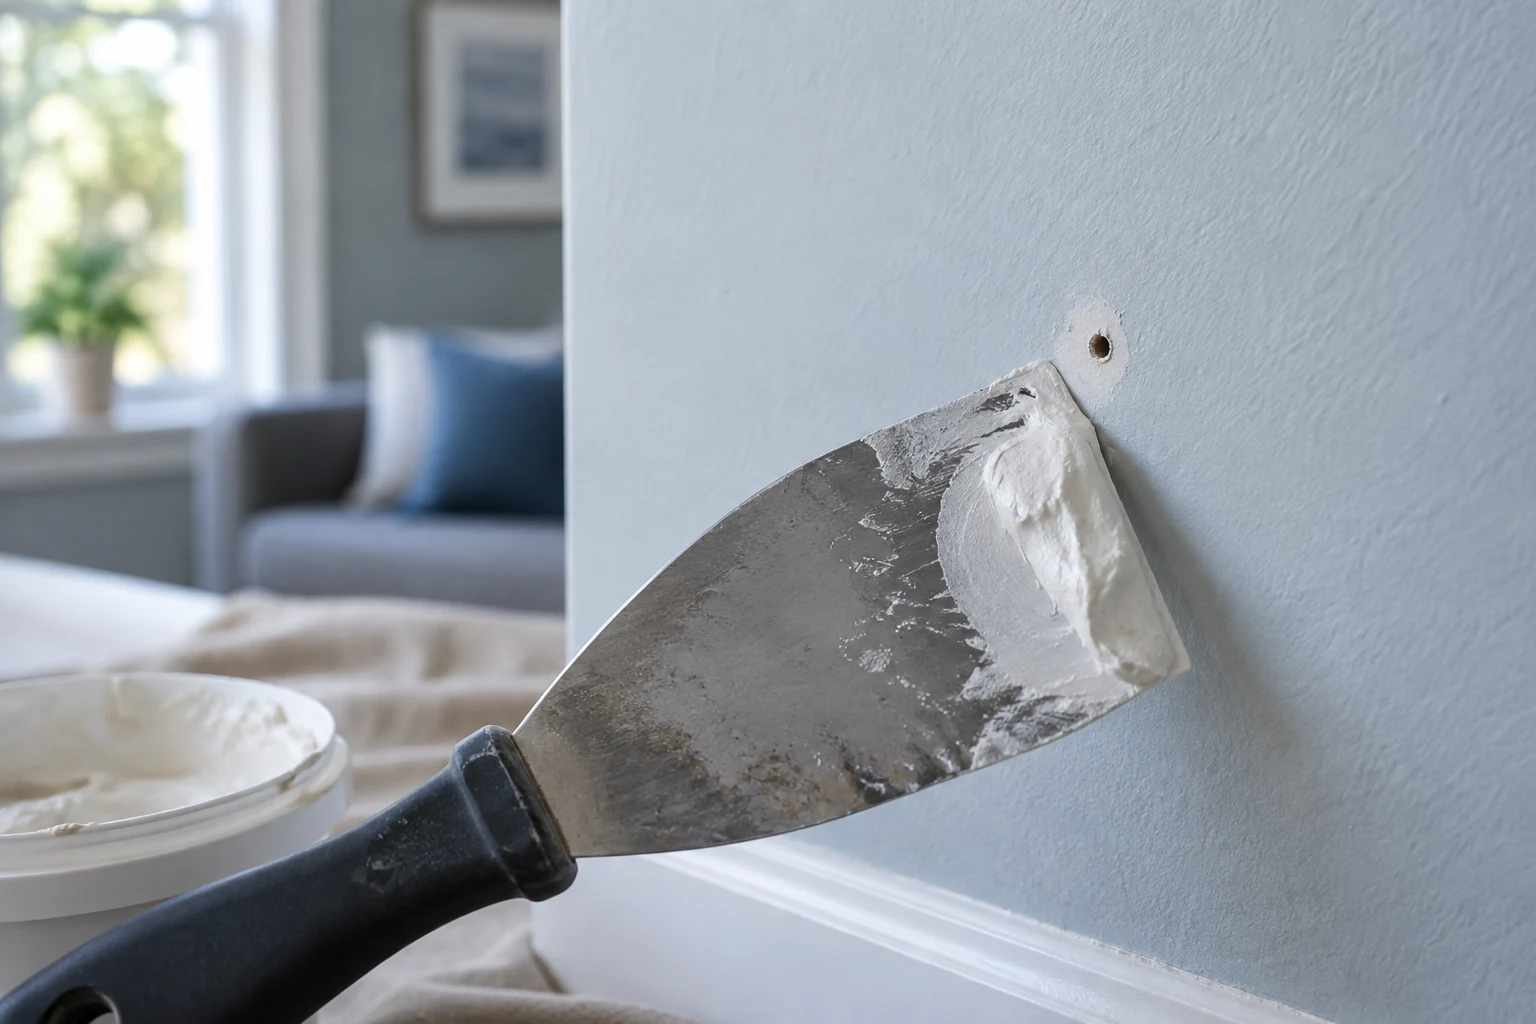
Fill a small nail hole

PICTURE-BY-PICTURE · 4 STEPS

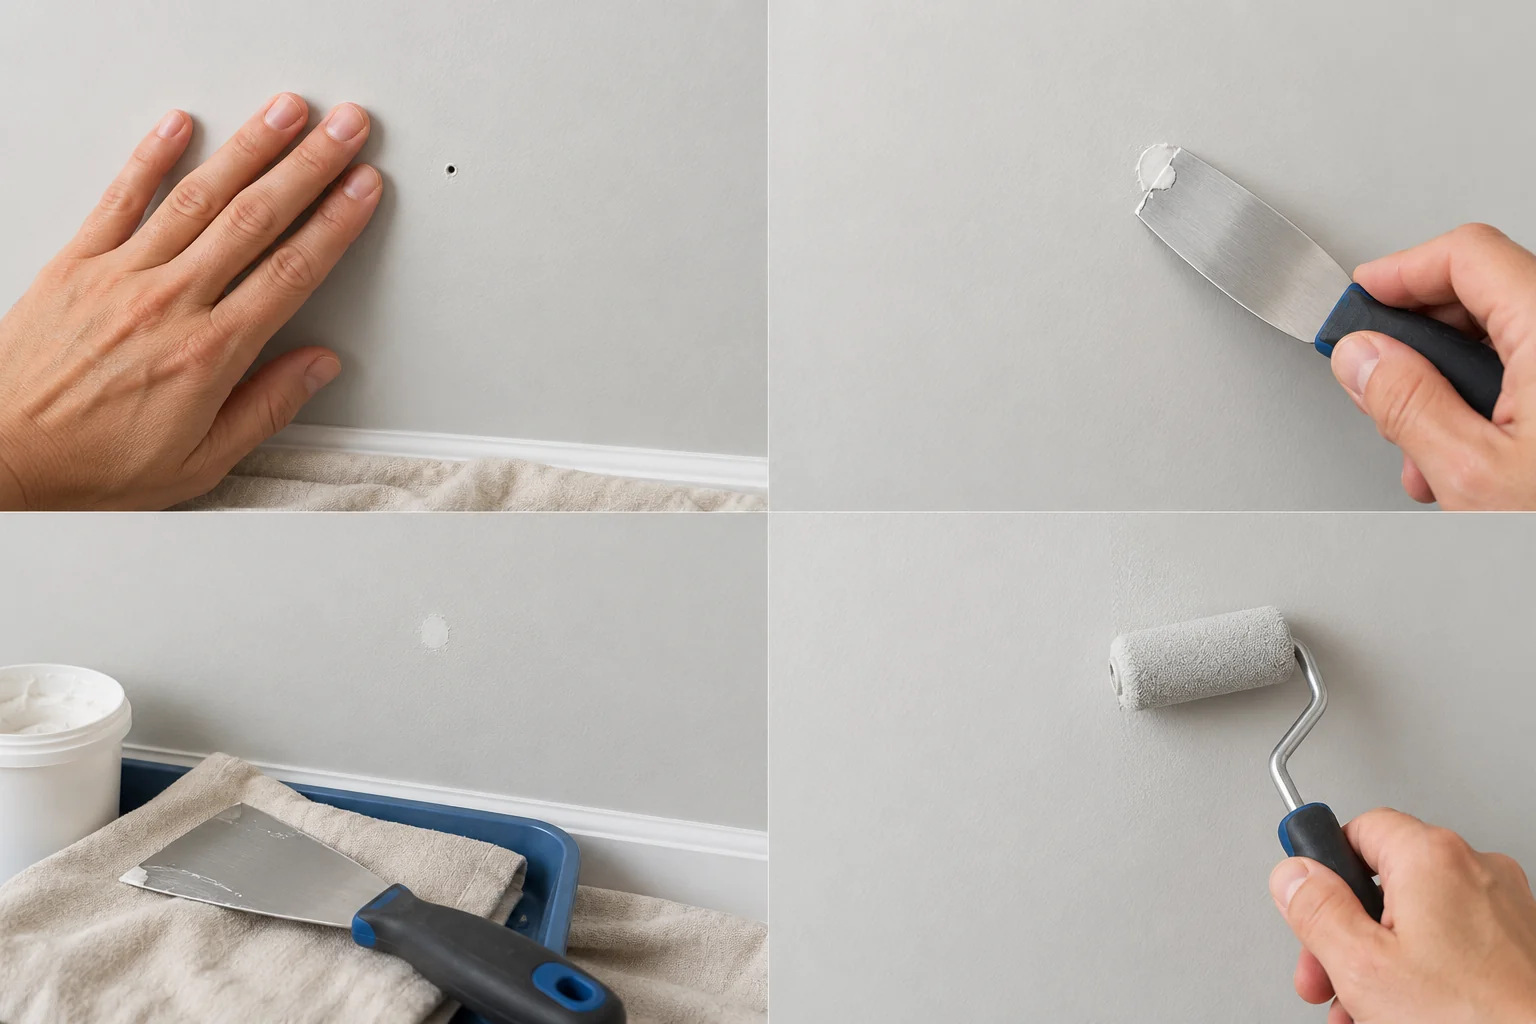
Fill a small nail hole

Tools you’ll need: Small-hole filler, putty knife, damp cloth, matching primer and paint.

Step 1

Hand checking firm drywall around a tiny nail hole

Check that the hole is small and the surrounding drywall is dry and firm. Put a cloth below the work.

Step 1 of 4

Hover to preview · use arrows to read at your pace

Pause and check: Water stains, soft drywall, recurring cracks or larger damage need assessment first. Have old or unknown coatings checked before disturbing them.

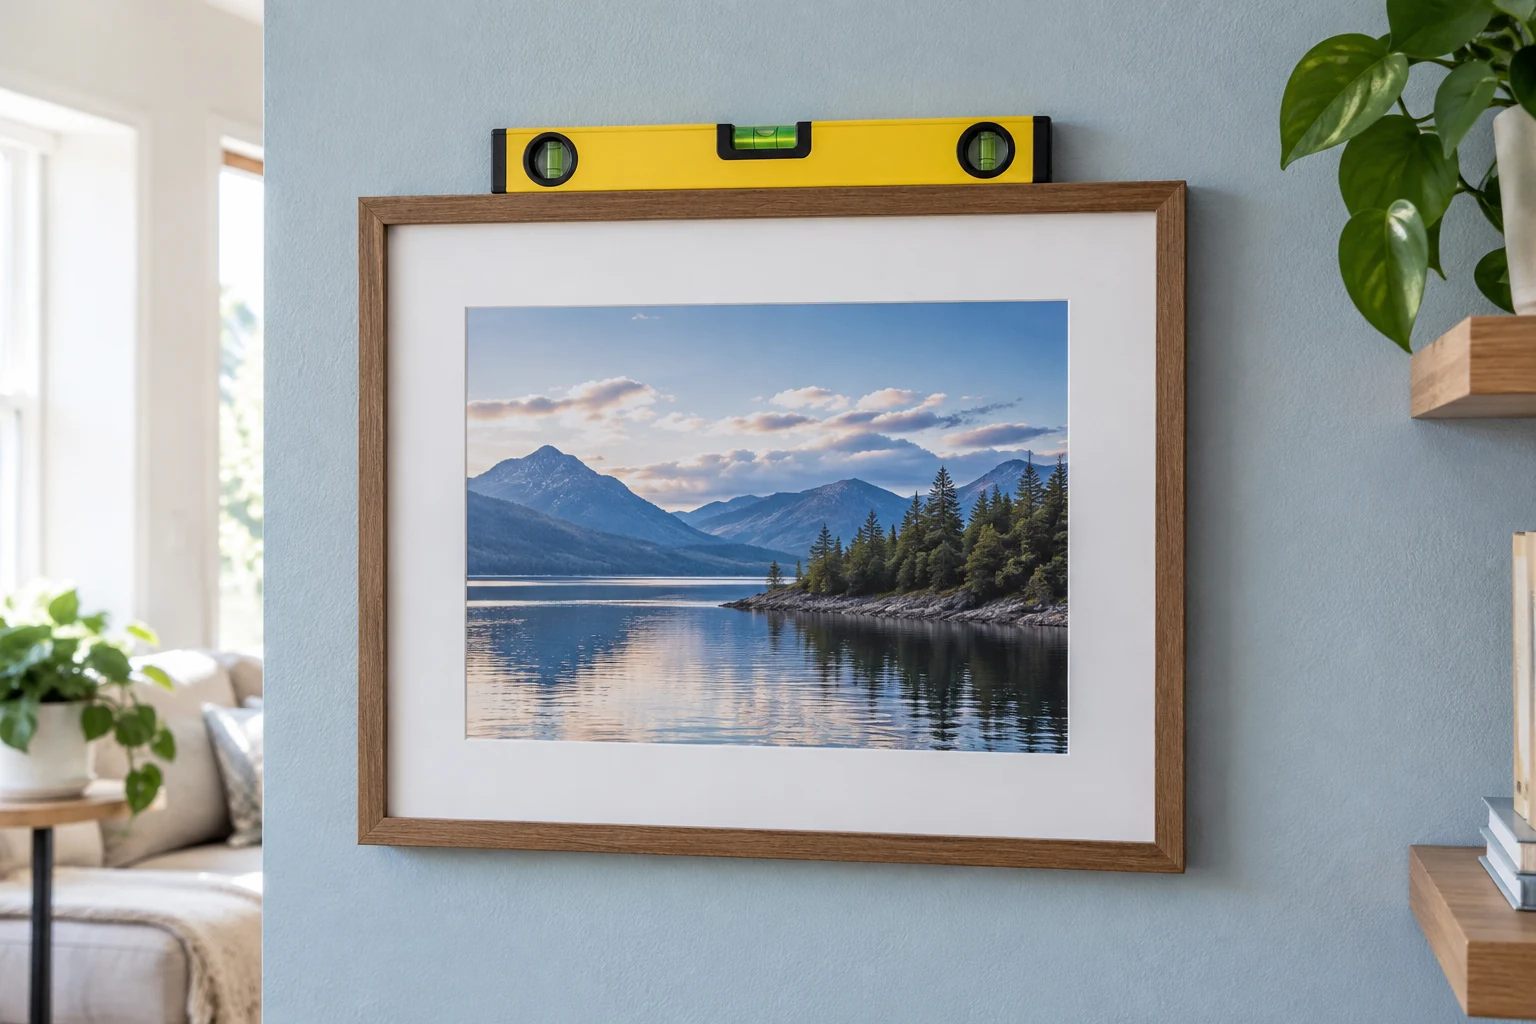
Hang a picture securely

PICTURE-BY-PICTURE · 4 STEPS

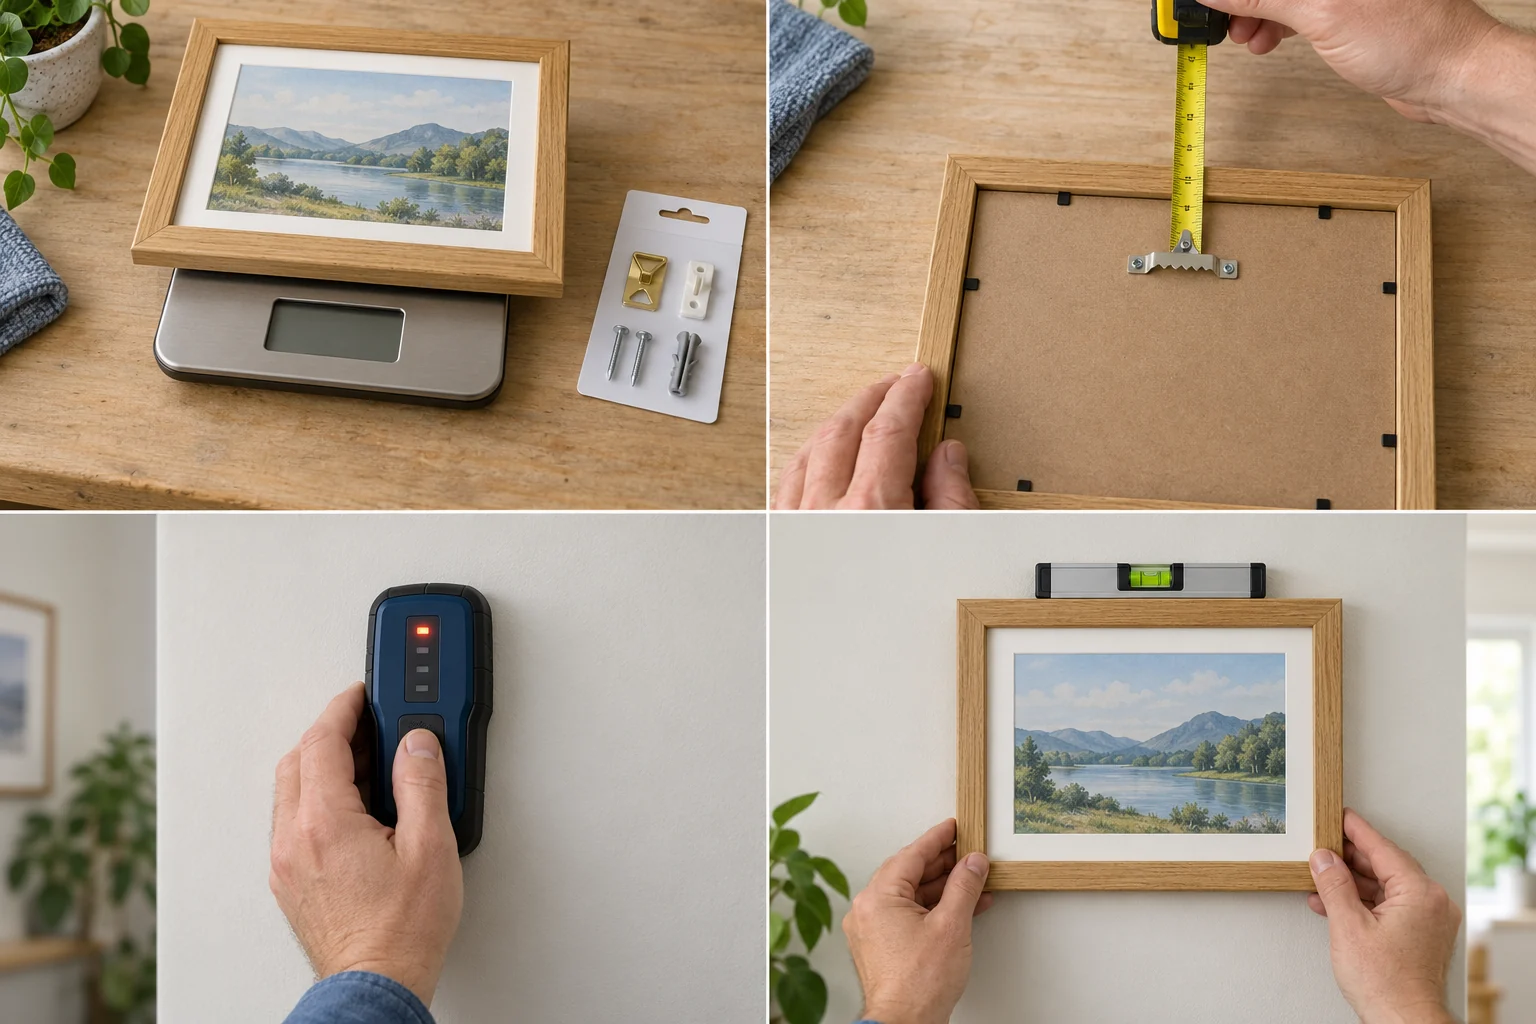
Hang a picture securely

Tools you’ll need: Picture hook rated for the picture and wall type, tape measure, pencil, level.

Step 1

Small picture frame on a scale beside picture-hanging hardware

Weigh the complete frame and identify the wall material before selecting a fixing. Follow the fixing maker’s weight rating and installation directions.

Step 1 of 4

Hover to preview · use arrows to read at your pace

Pause and check: Heavy mirrors, uncertain wall materials or hidden-service concerns are a reason to get help. Do not rely on an unverified adhesive hook above a bed.

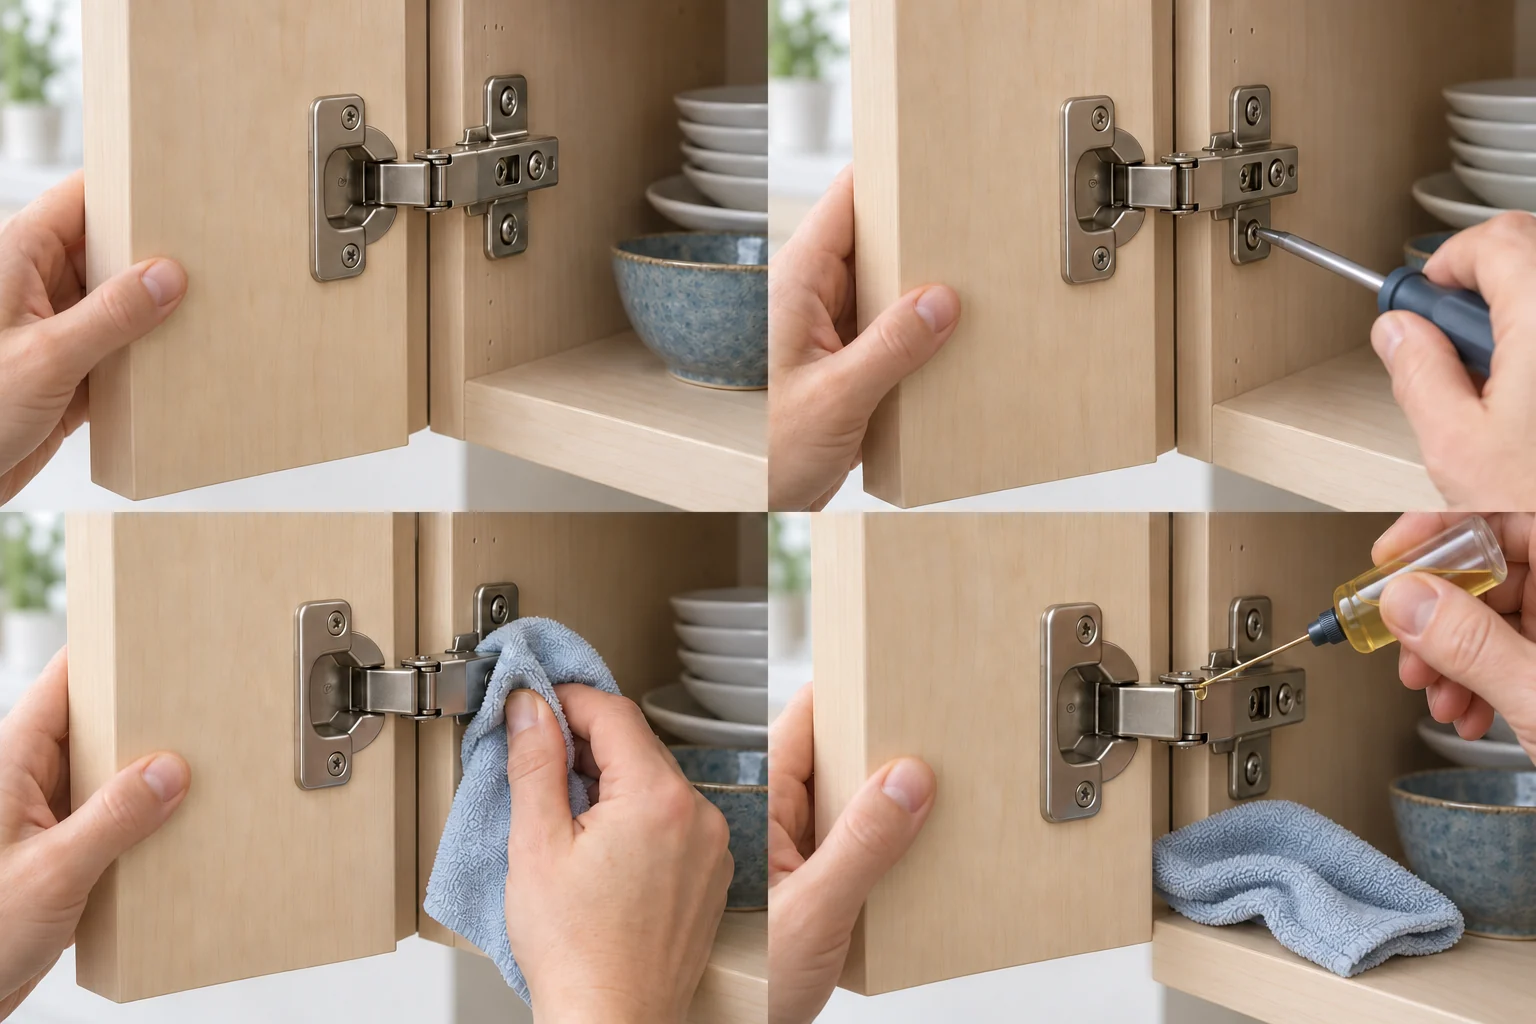
Quiet a squeaky cabinet door

PICTURE-BY-PICTURE · 4 STEPS

Quiet a squeaky cabinet door

Tools you’ll need: Soft cloth, correct screwdriver, manufacturer-approved hinge lubricant.

Step 1

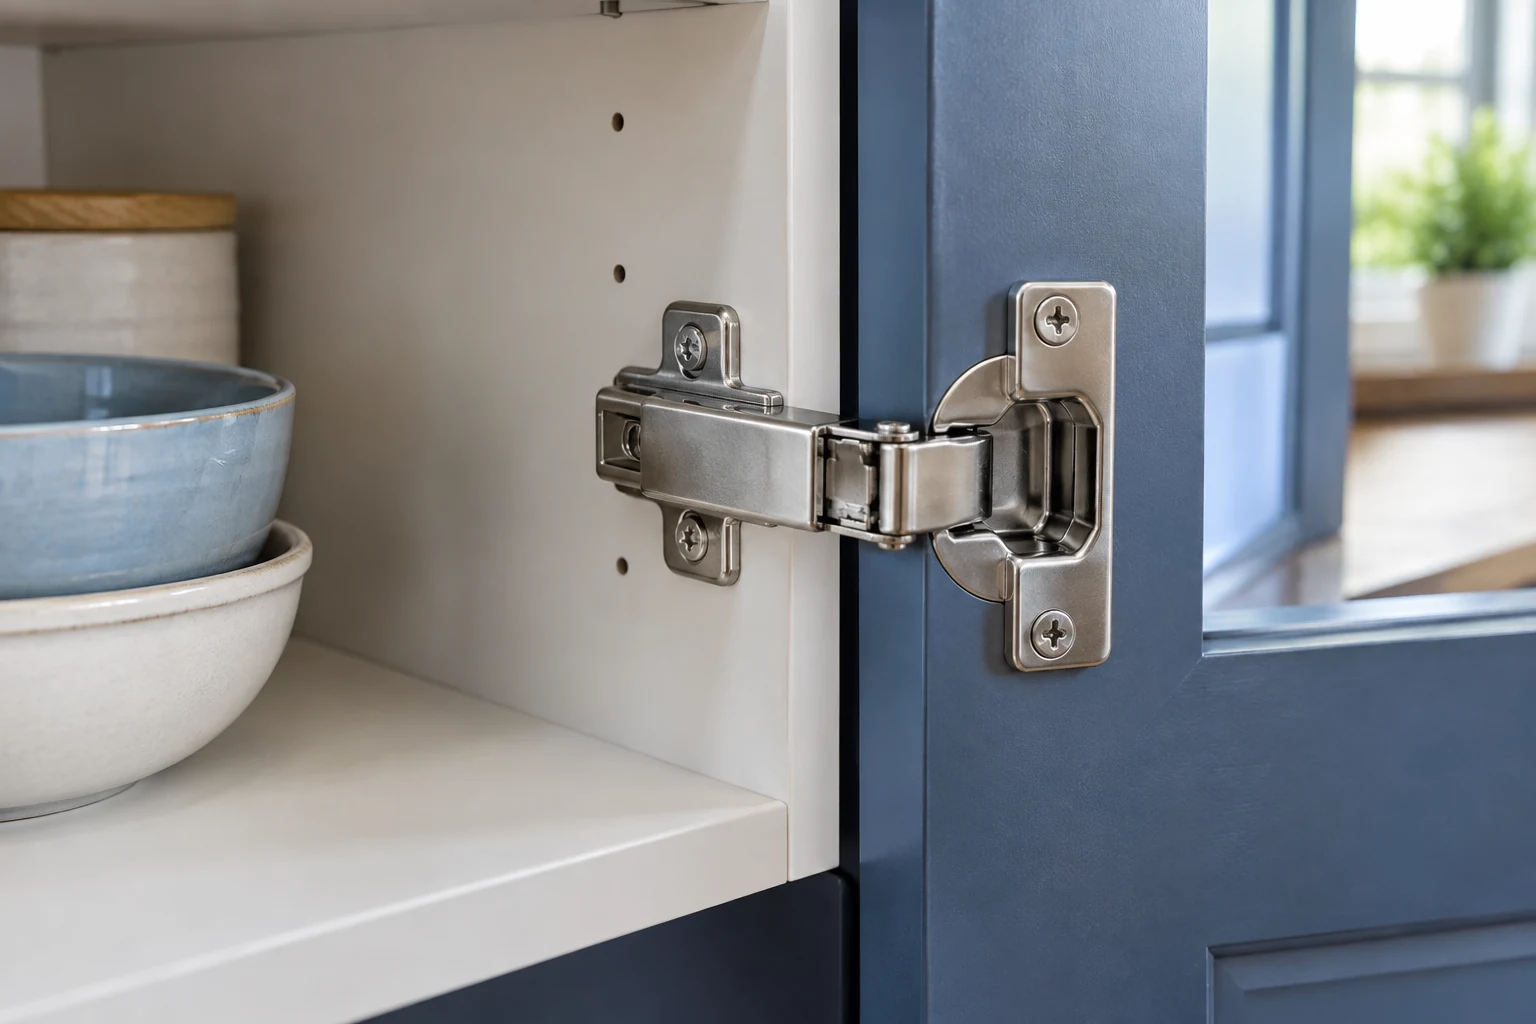
Supporting an open cabinet door while inspecting its hinge

Open the door slowly to find which hinge squeaks. Support the door while inspecting accessible screws.

Step 1 of 4

Hover to preview · use arrows to read at your pace

Pause and check: Do not spray lubricant into a sealed soft-close damper. Replace worn or damaged hinges with compatible parts rather than forcing adjustment.

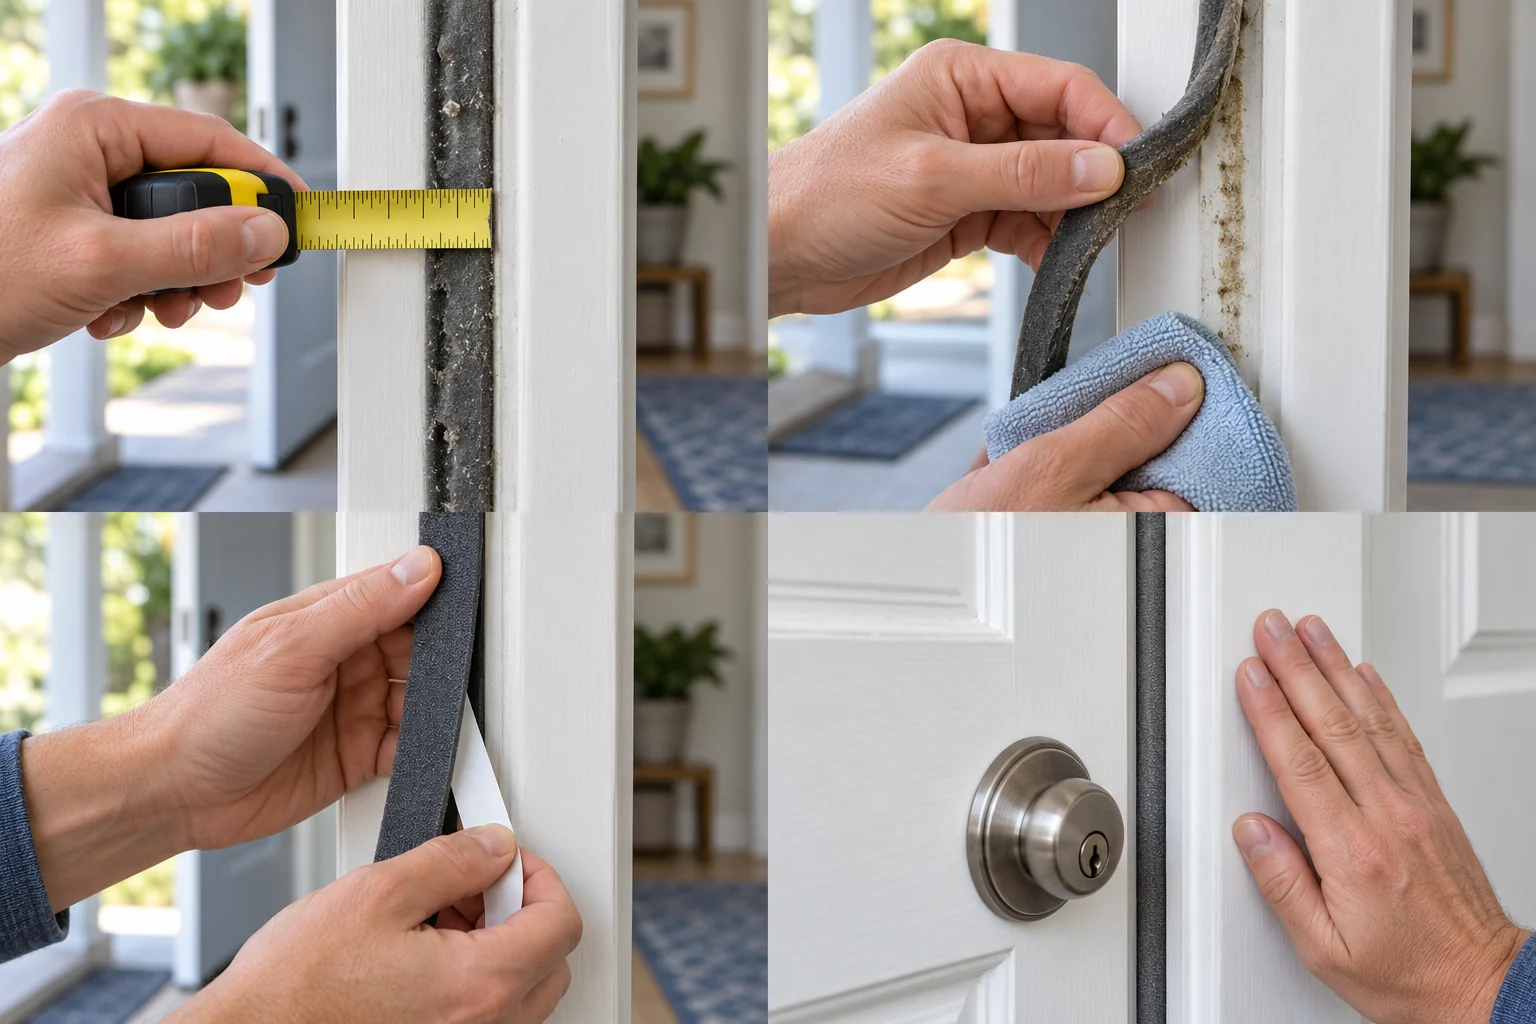
Replace worn adhesive door seals

PICTURE-BY-PICTURE · 4 STEPS

Replace worn adhesive door seals

Tools you’ll need: Matching adhesive weatherstrip, tape measure, scissors, mild cleaner.

Step 1

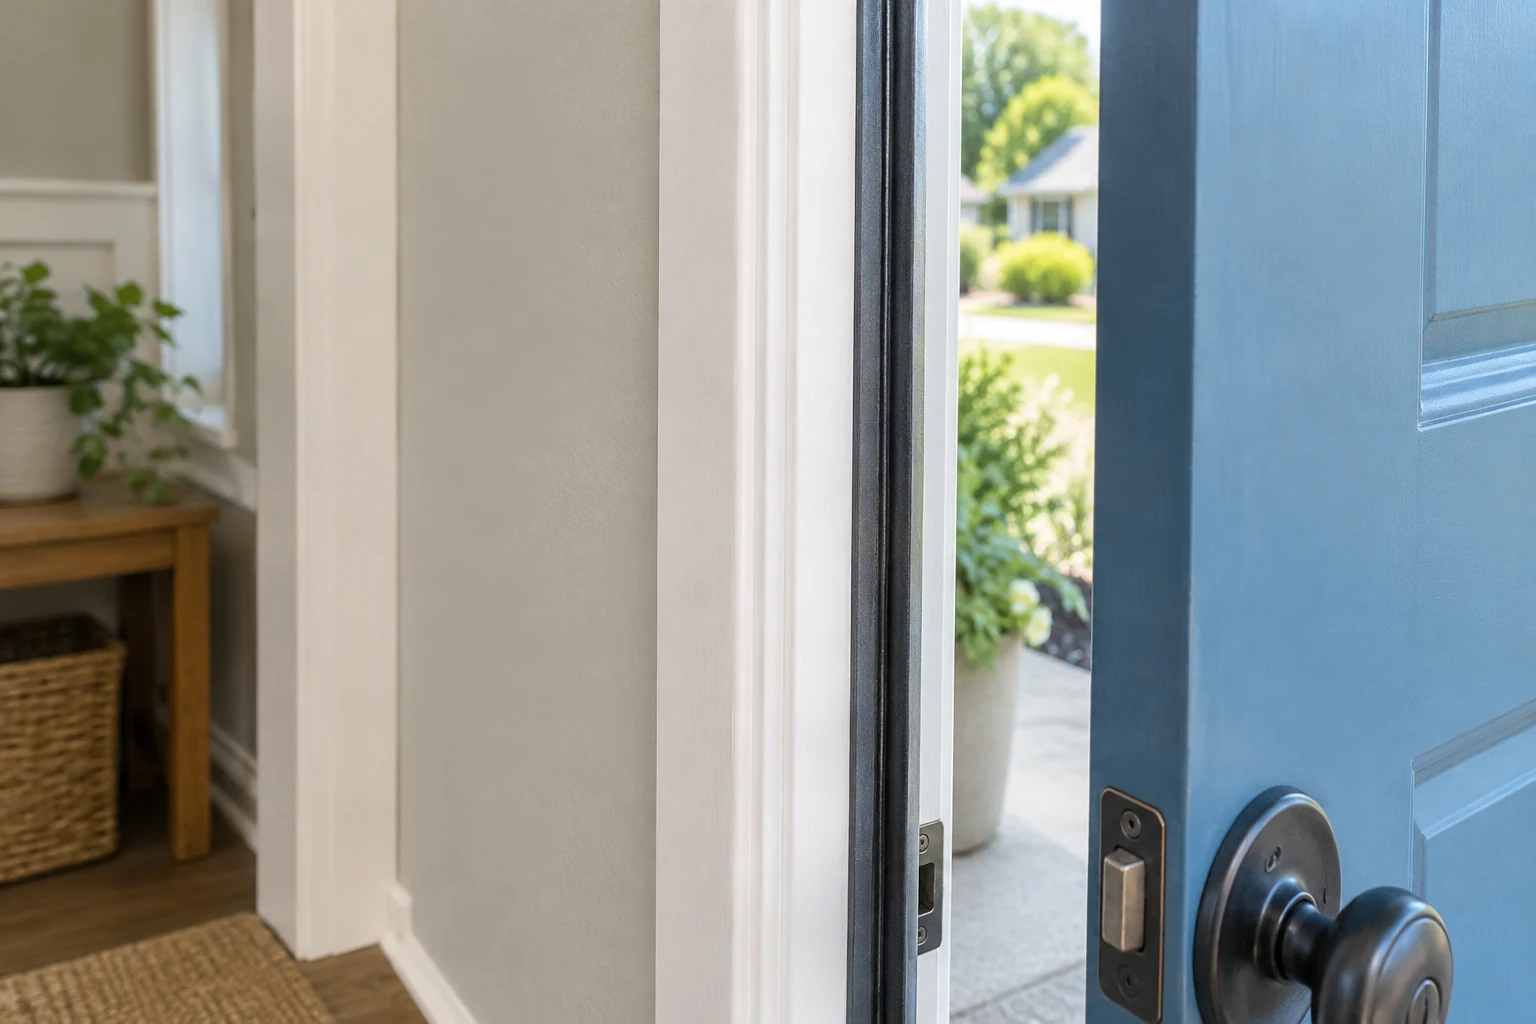
Measuring the width of the existing adhesive door seal

Inspect the existing seal and measure its width, thickness and length. Choose a replacement suited to the door and gap.

Step 1 of 4

Hover to preview · use arrows to read at your pace

Pause and check: Do not block drainage openings or change a fire-rated door assembly. A bent frame or persistent leak needs a professional assessment.

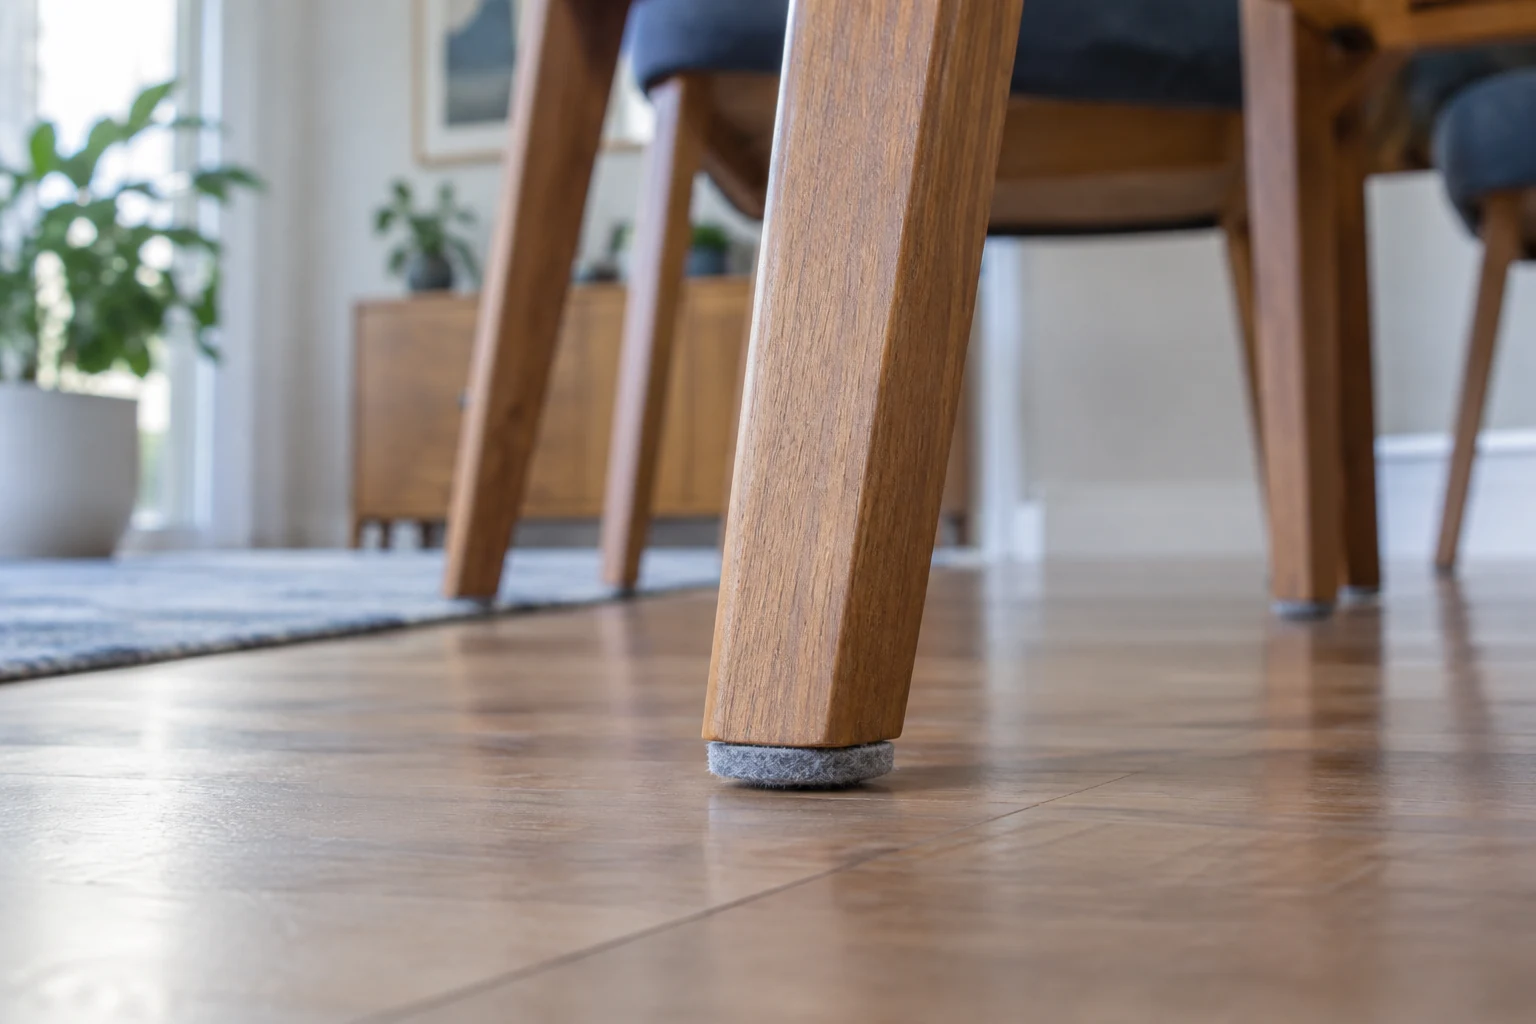
Renew chair-leg floor protectors

PICTURE-BY-PICTURE · 4 STEPS

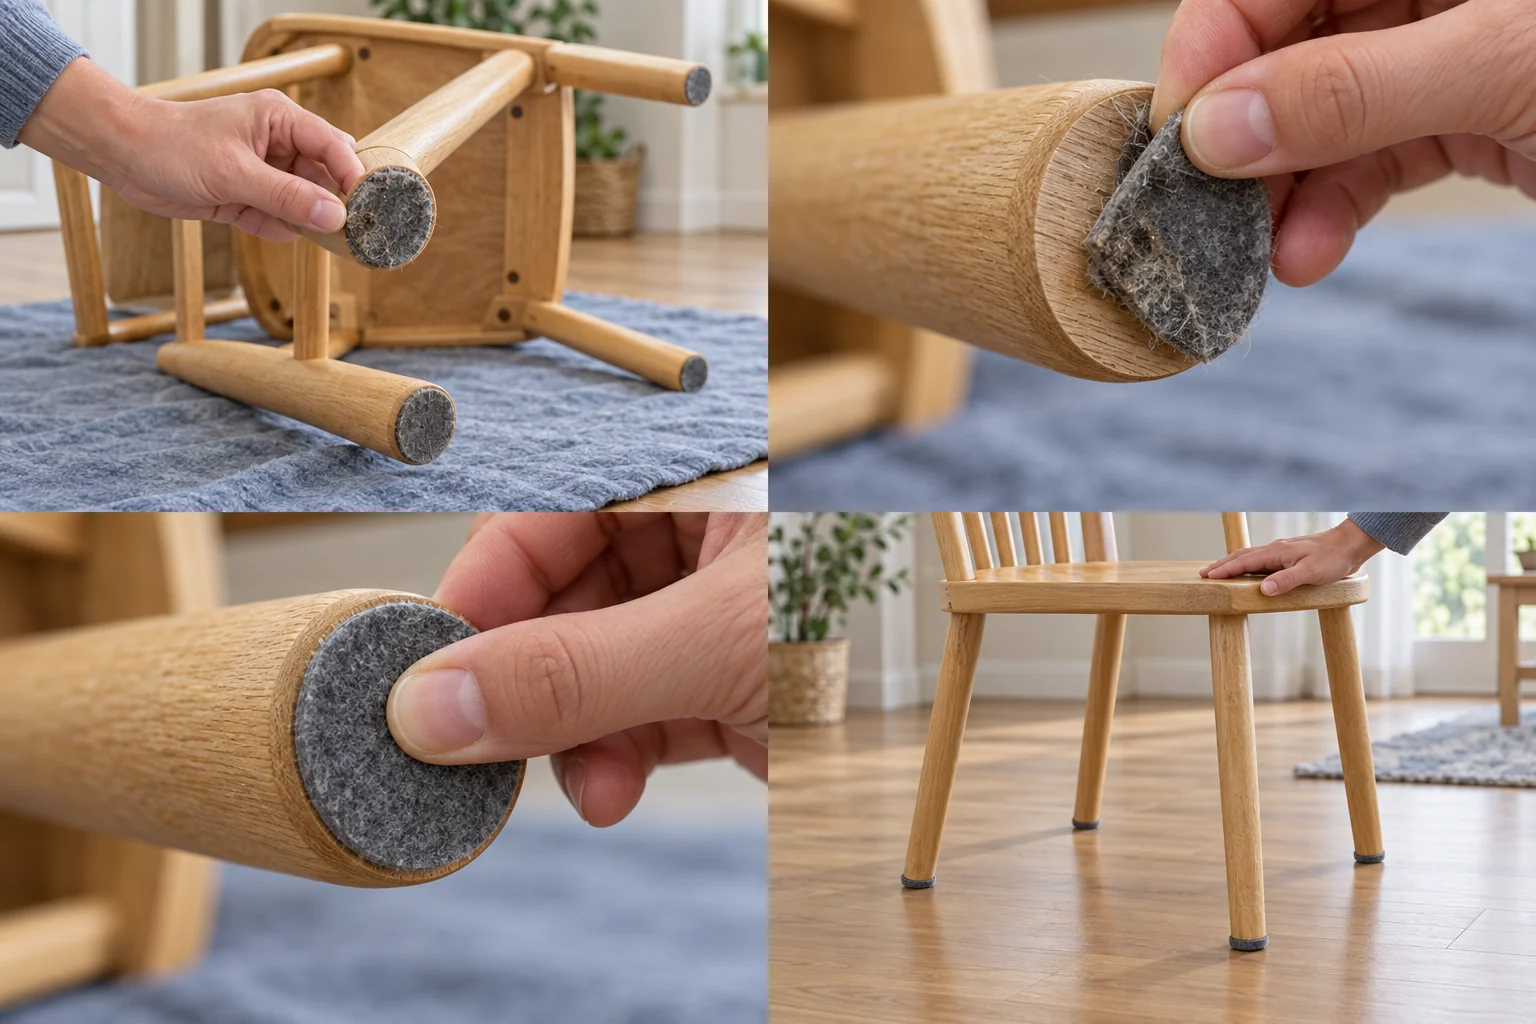
Renew chair-leg floor protectors

Tools you’ll need: Correct-size felt pads, cloth, finish-safe cleaner.

Step 1

Light wooden chair on a protective cloth for inspecting the foot pads

Move one light chair onto a protected surface and check every foot. Get help with heavy furniture.

Step 1 of 4

Hover to preview · use arrows to read at your pace

Pause and check: Repair split legs or loose joints before use; pads do not fix unstable furniture.

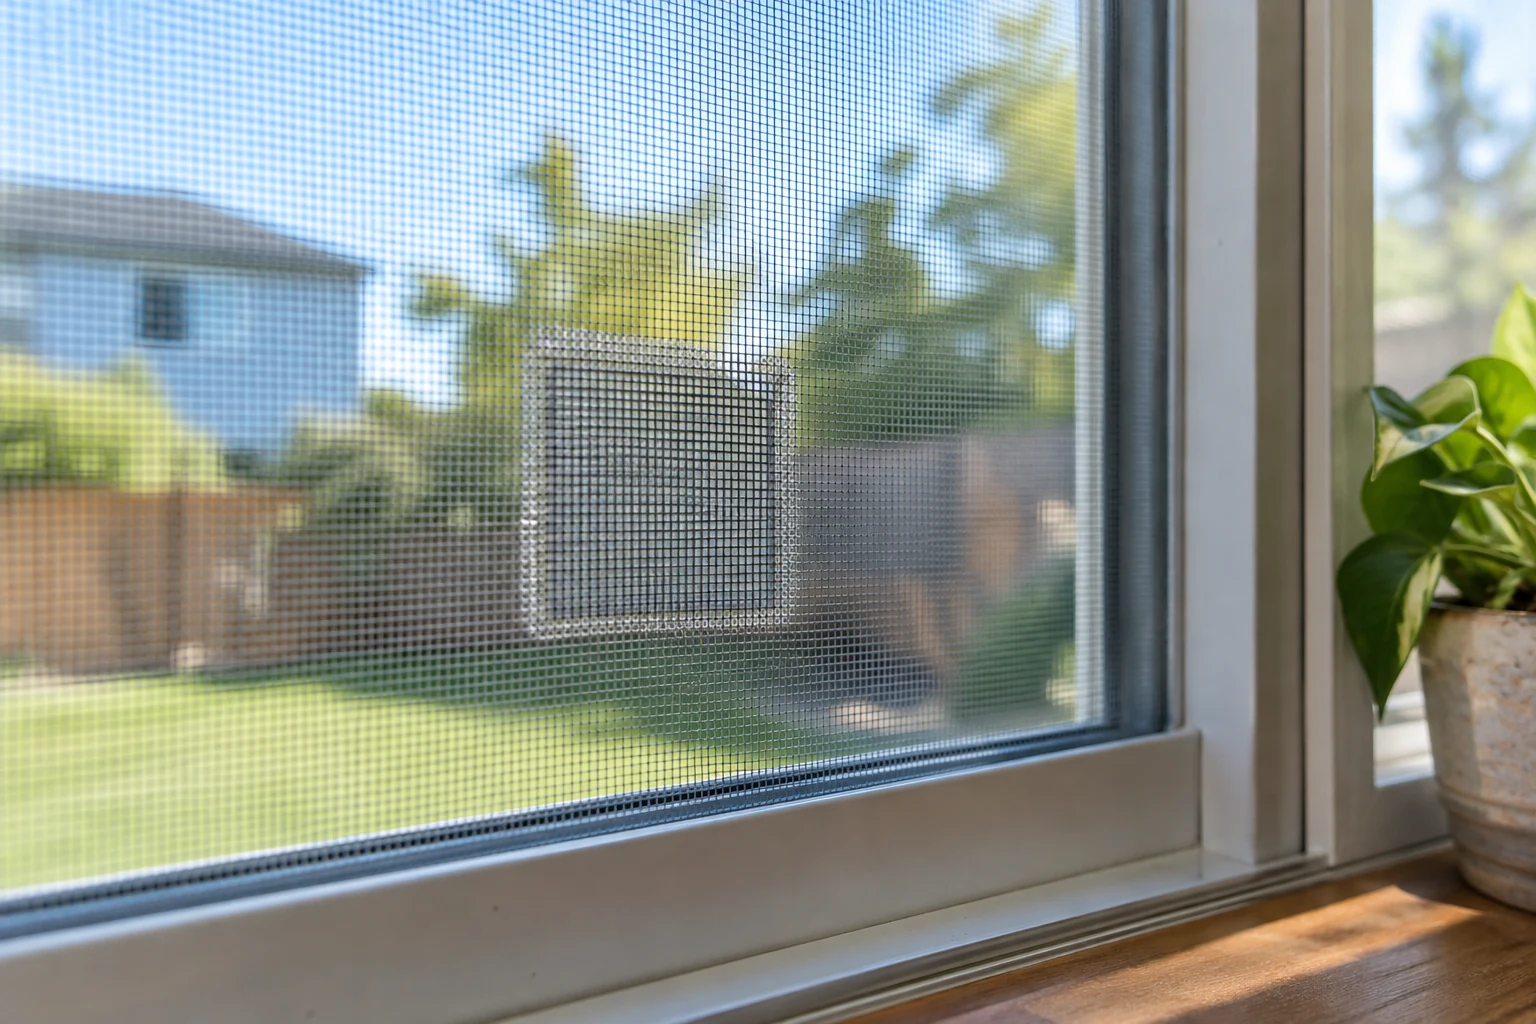
Patch a tiny window-screen tear

PICTURE-BY-PICTURE · 4 STEPS

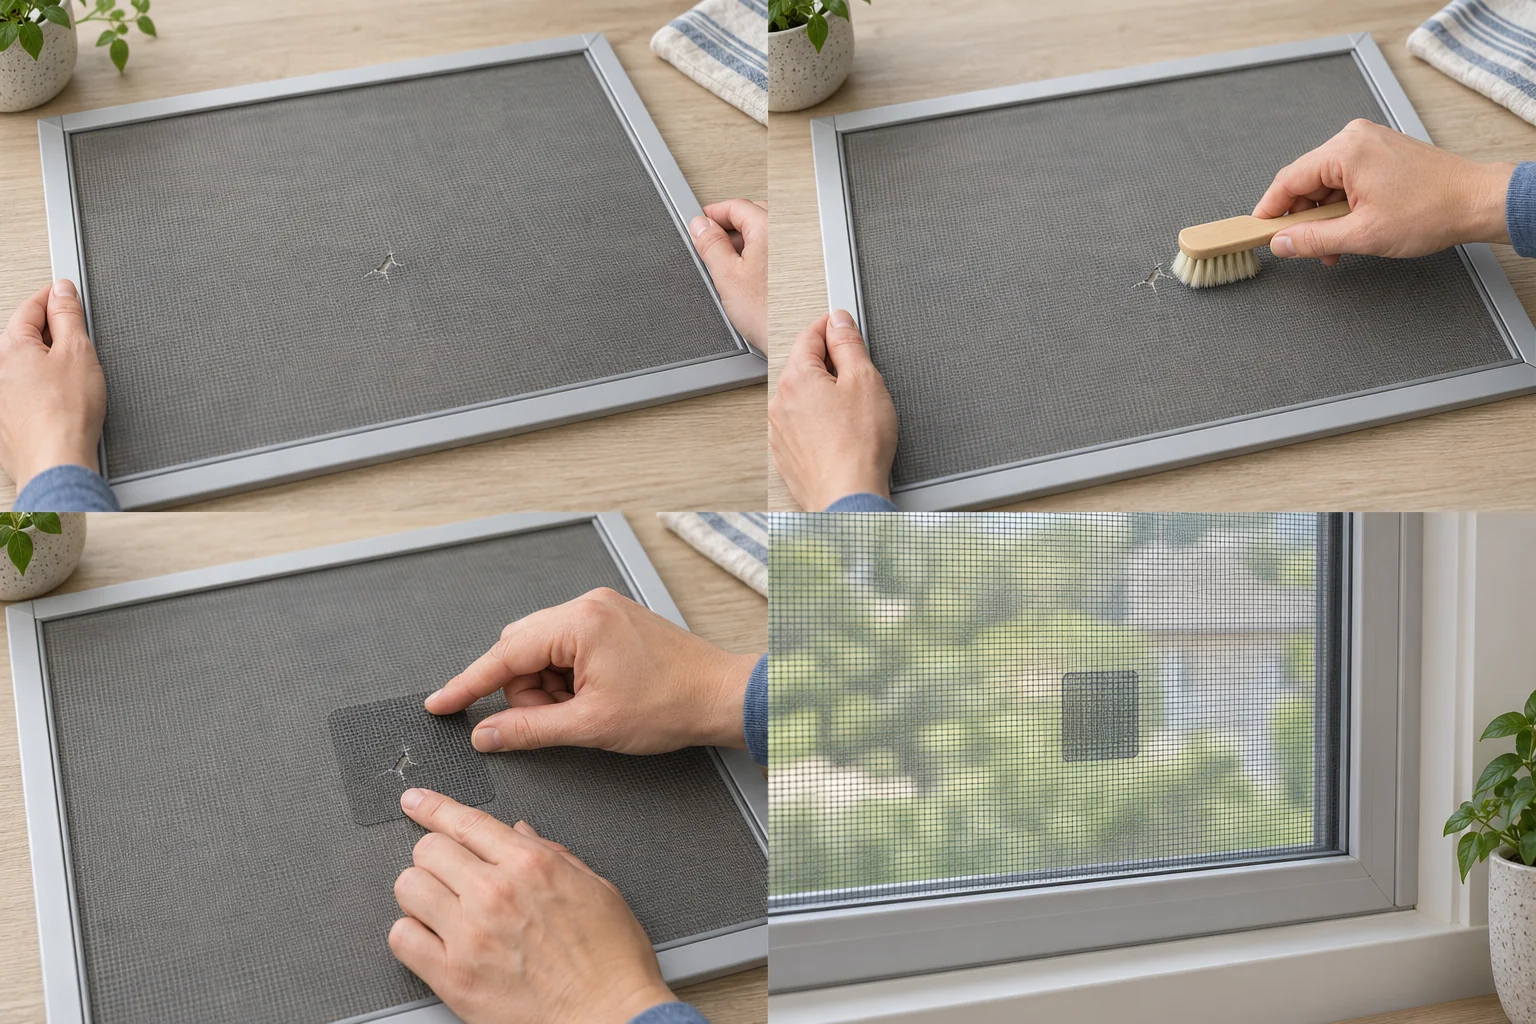
Patch a tiny window-screen tear

Tools you’ll need: Compatible screen patch kit, scissors, soft brush.

Step 1

Removable window screen laid flat with a small mesh tear visible

Remove only an easily accessible screen according to its instructions and lay it flat. Work from indoors or ground level.

Step 1 of 4

Hover to preview · use arrows to read at your pace

Pause and check: Replace badly torn mesh or damaged frames. Screens cannot prevent a person from falling through a window.

MORE LITTLE WINS

Pick your next small fix.

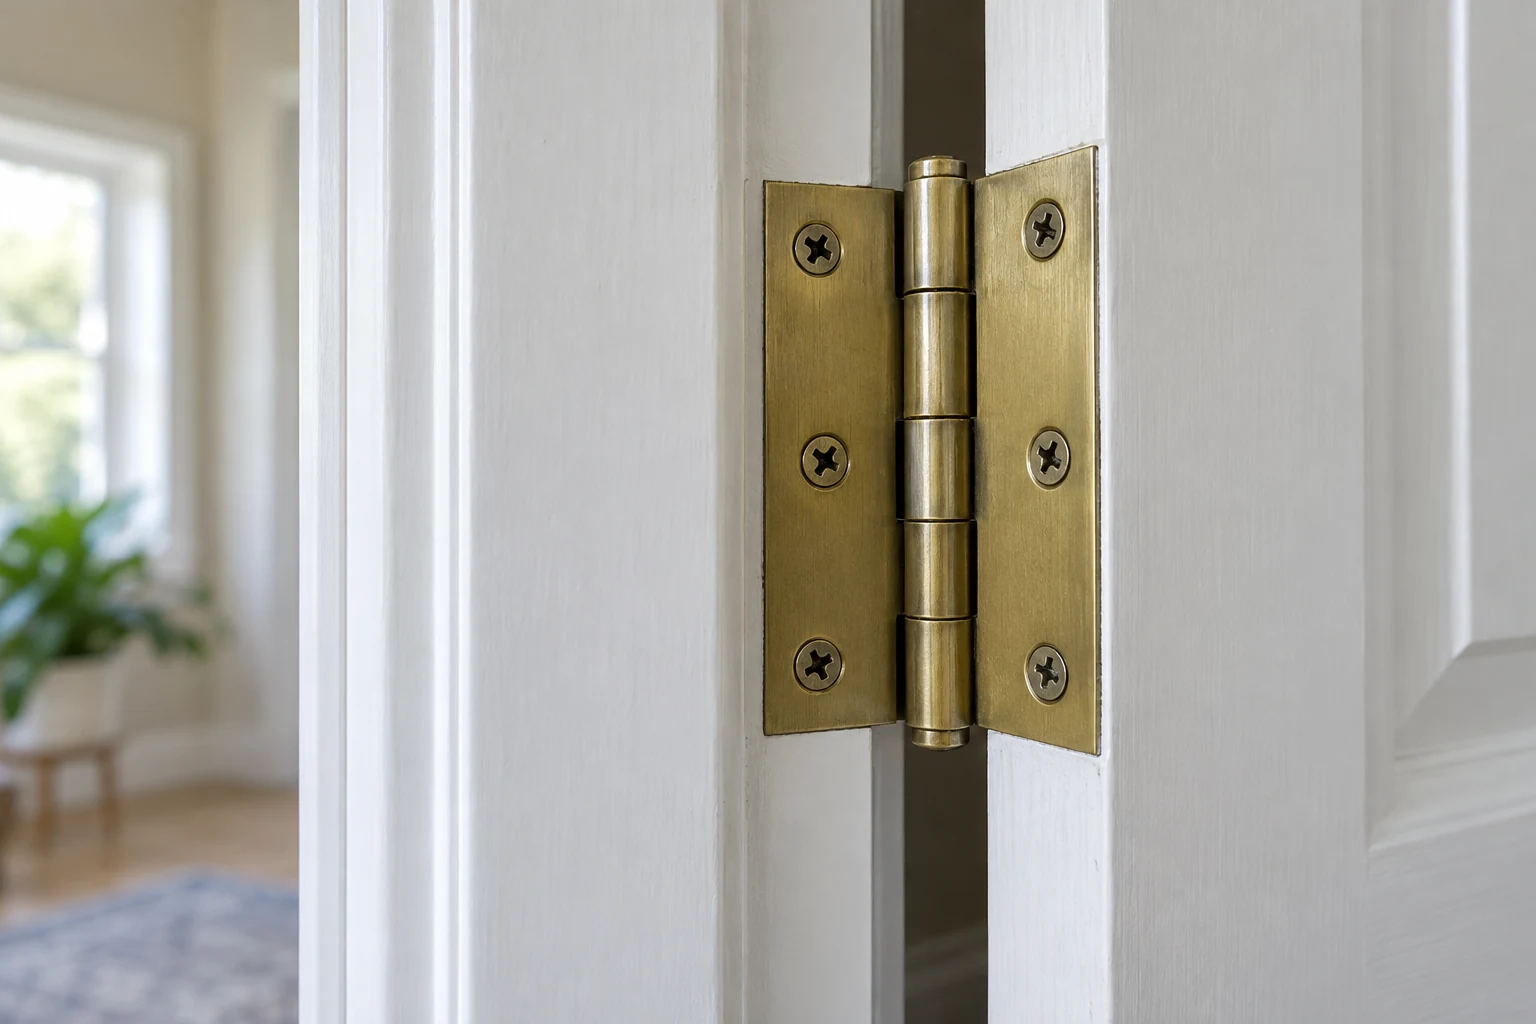
Interior door hingeDoorsQuiet a squeaky interior hinge

Tools you’ll need: Cloth, hinge-compatible lubricant, floor protection.

  1. Open and close the door slowly to locate the noisy hinge. Check that the hinge is secure and the door is not rubbing the frame.
  2. Protect the floor. Wipe dirt from the hinge and apply a small amount of lubricant approved for its finish, following the label. Keep spray away from nearby surfaces.
  3. Move the door several times to work it in, then wipe away excess. Retest after it settles.

Pause and check: A sagging door, loose hinge attachment or continuing scrape needs a separate repair. Do not remove hinge pins or lift a heavy door for this simple fix.


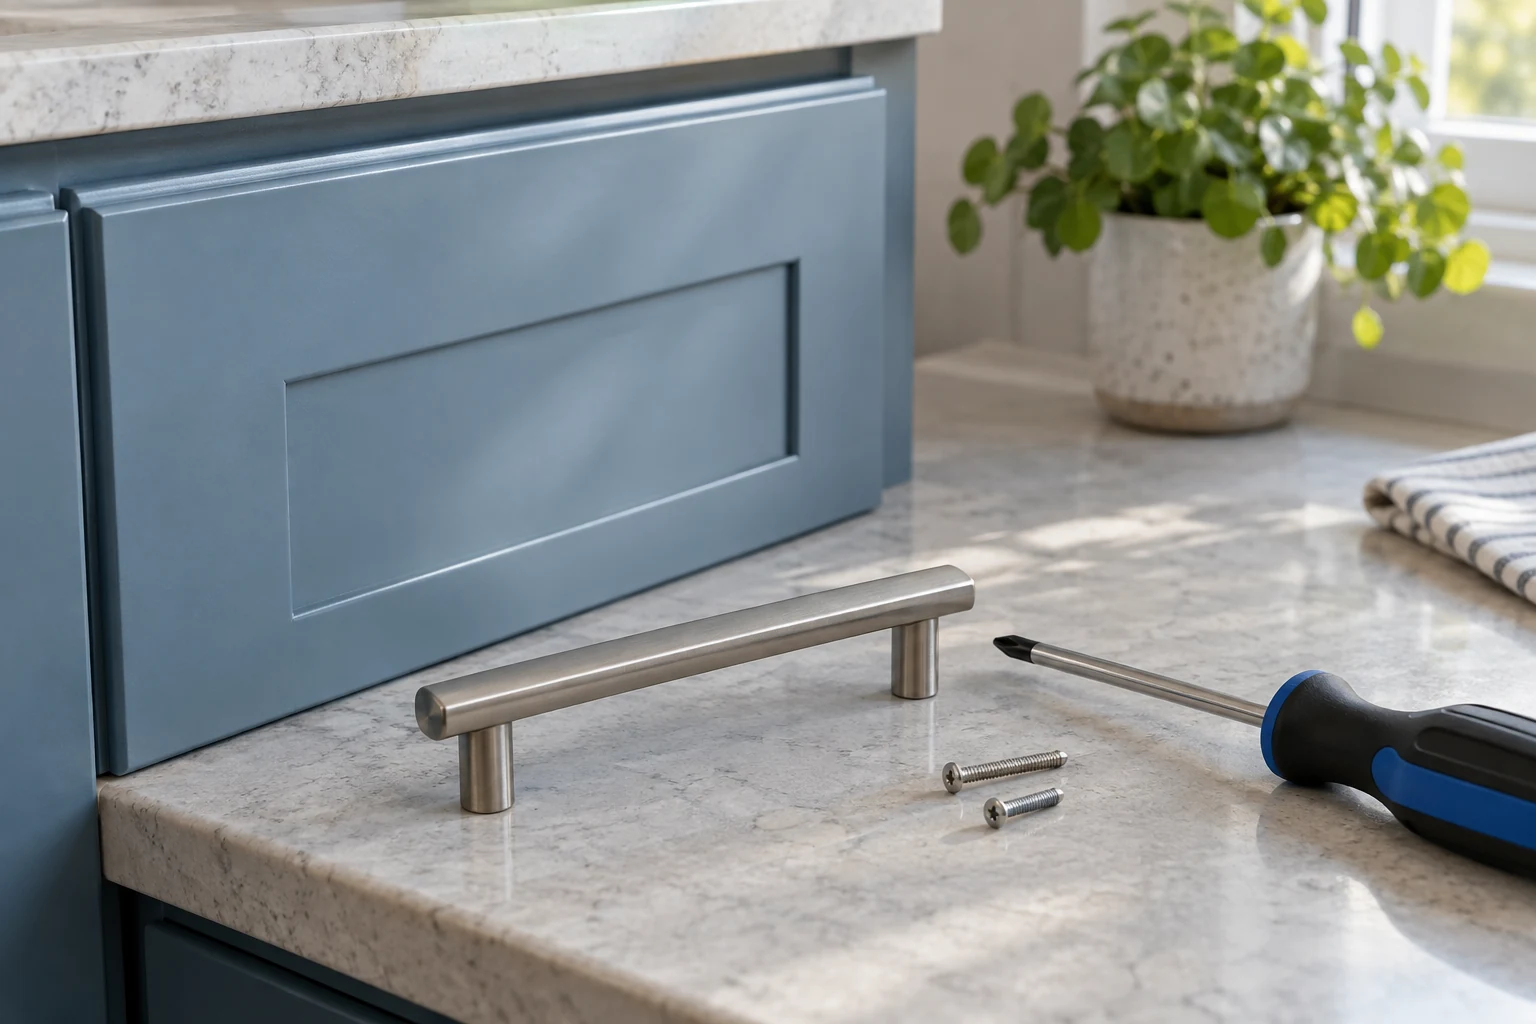
Cabinet handleCabinetsTighten a loose cabinet handle

Tools you’ll need: Correct screwdriver, soft cloth.

  1. Open the cabinet and support the handle from the front with a cloth.
  2. Find the fixing screw on the inside. Use a screwdriver that fits and turn gently clockwise while holding the handle straight.
  3. Stop as soon as it is snug. Open and close the door to check the handle stays steady.

Pause and check: If the screw spins without gripping, check the correct replacement screw or handle rather than overtightening.

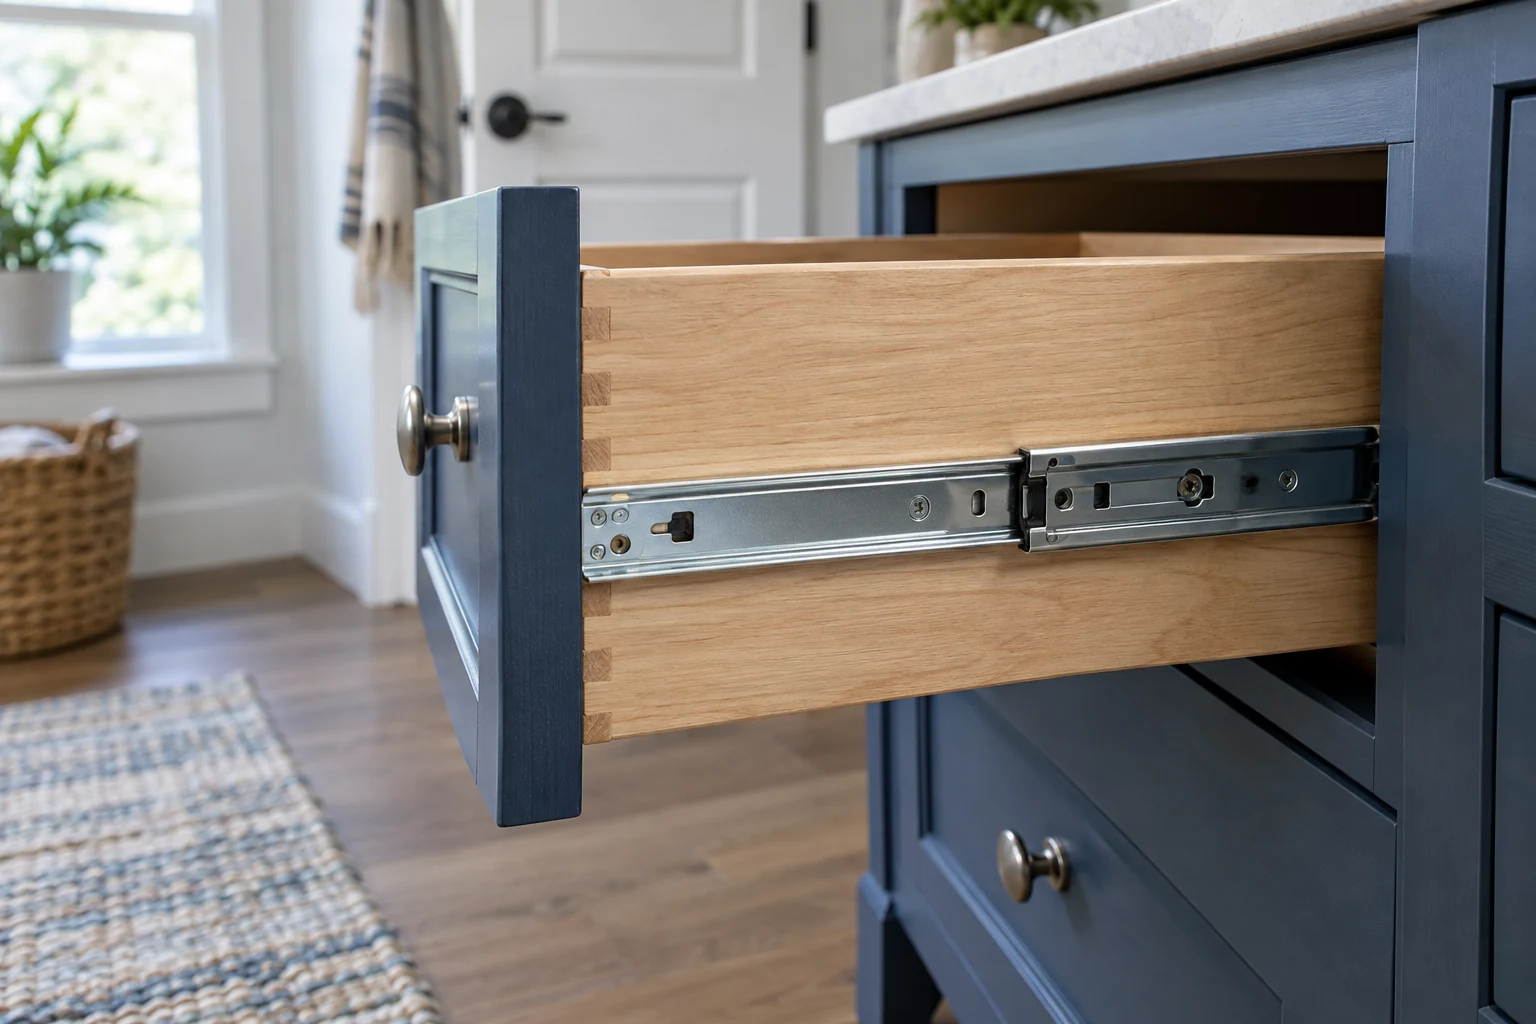
Drawer slideStorageHelp a sticky drawer glide

Tools you’ll need: Vacuum brush, cloth, correct screwdriver.

  1. Empty the drawer and check for an object catching behind or underneath it.
  2. Follow the cabinet maker’s directions if removal is necessary. Support the drawer and keep fingers clear of slide pinch points.
  3. Vacuum debris and wipe accessible tracks dry. Gently snug loose accessible fixing screws without changing their positions.
  4. Reinstall as directed and test empty, then reload evenly. Use lubricant only if the slide manufacturer permits it.

Pause and check: Bent tracks, broken rollers or damaged fasteners need matching replacement parts. Do not force the drawer.

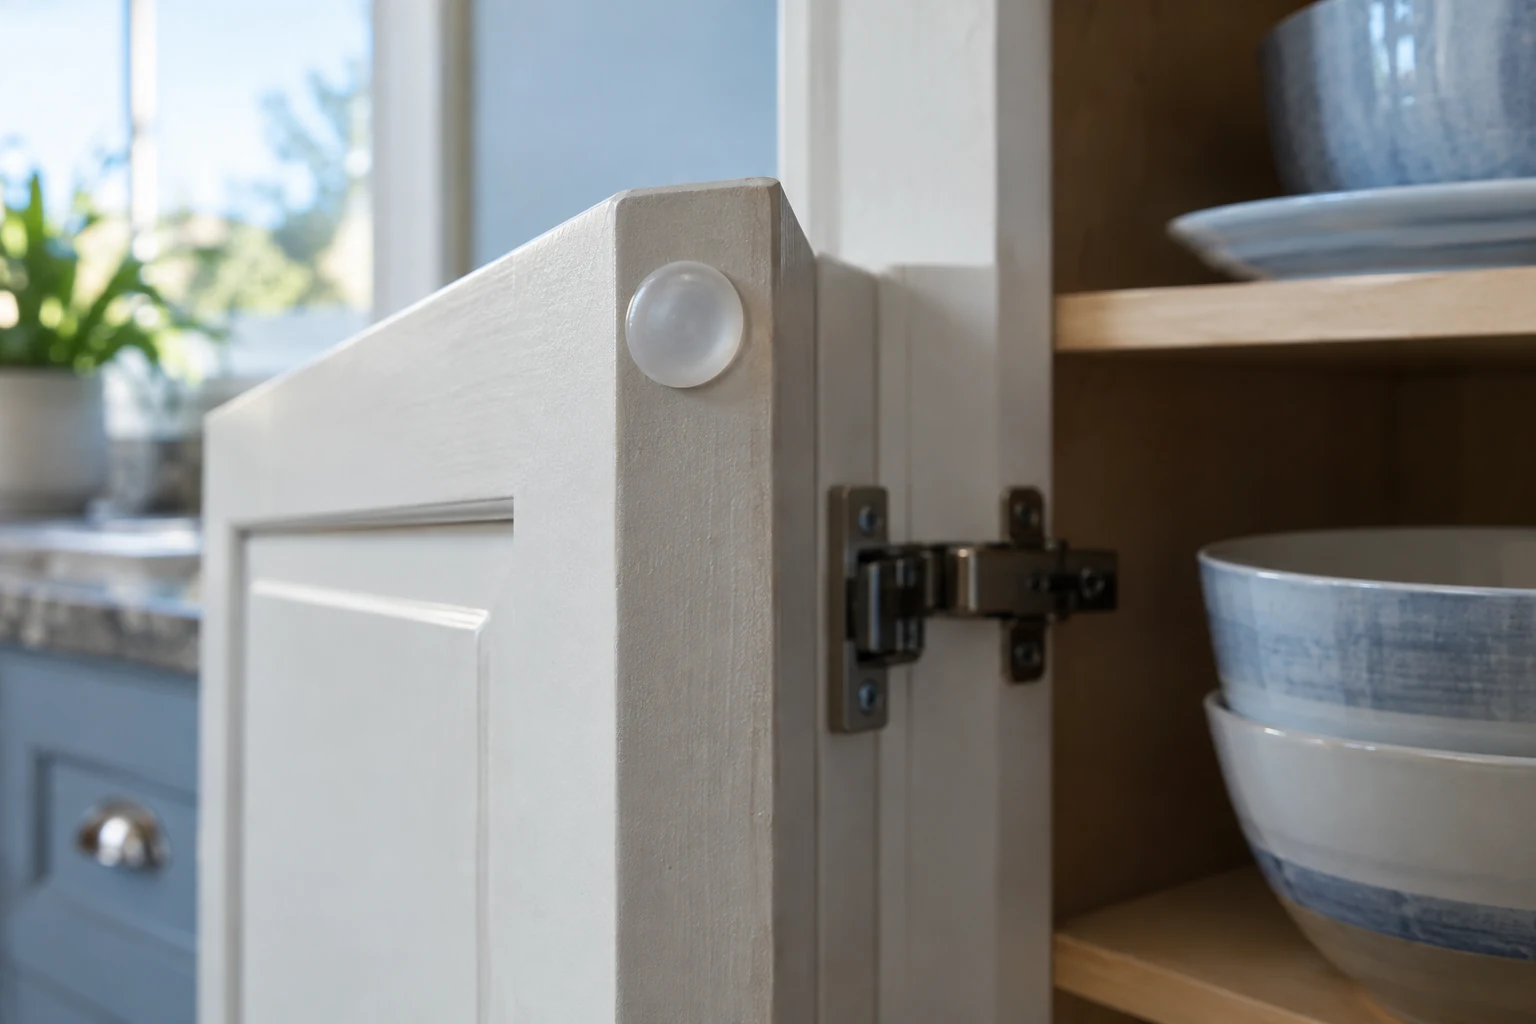
Cabinet bumperFinishing detailsReplace a worn stick-on cabinet bumper

Tools you’ll need: Matching bumpers, cloth, finish-safe cleaner.

  1. Find the old bumper and check where the door meets the cabinet frame.
  2. Peel the damaged bumper away carefully; remove residue with a compatible cleaner and dry fully.
  3. Apply a matching thickness bumper in the same position, pressing firmly.
  4. Close the door gently and check that it sits evenly with its neighbors.

Pause and check: A door that stays crooked may need hinge adjustment; piling on bumpers can make alignment worse.

Follow the instructions for your specific product. For electrical, gas, structural or persistent water problems, arrange qualified help.

Ask Lighthouse about a repair ↗

A LITTLE CARE, ALL YEAR

Your seasonal maintenance checklist.

A general starting point for Dayton-area homes. Follow your equipment manuals and adjust for your home and weather.

Monthly home checksEvery month
  • Look beneath sinks for drips or dampness; report a continuing leak before it damages the cabinet.
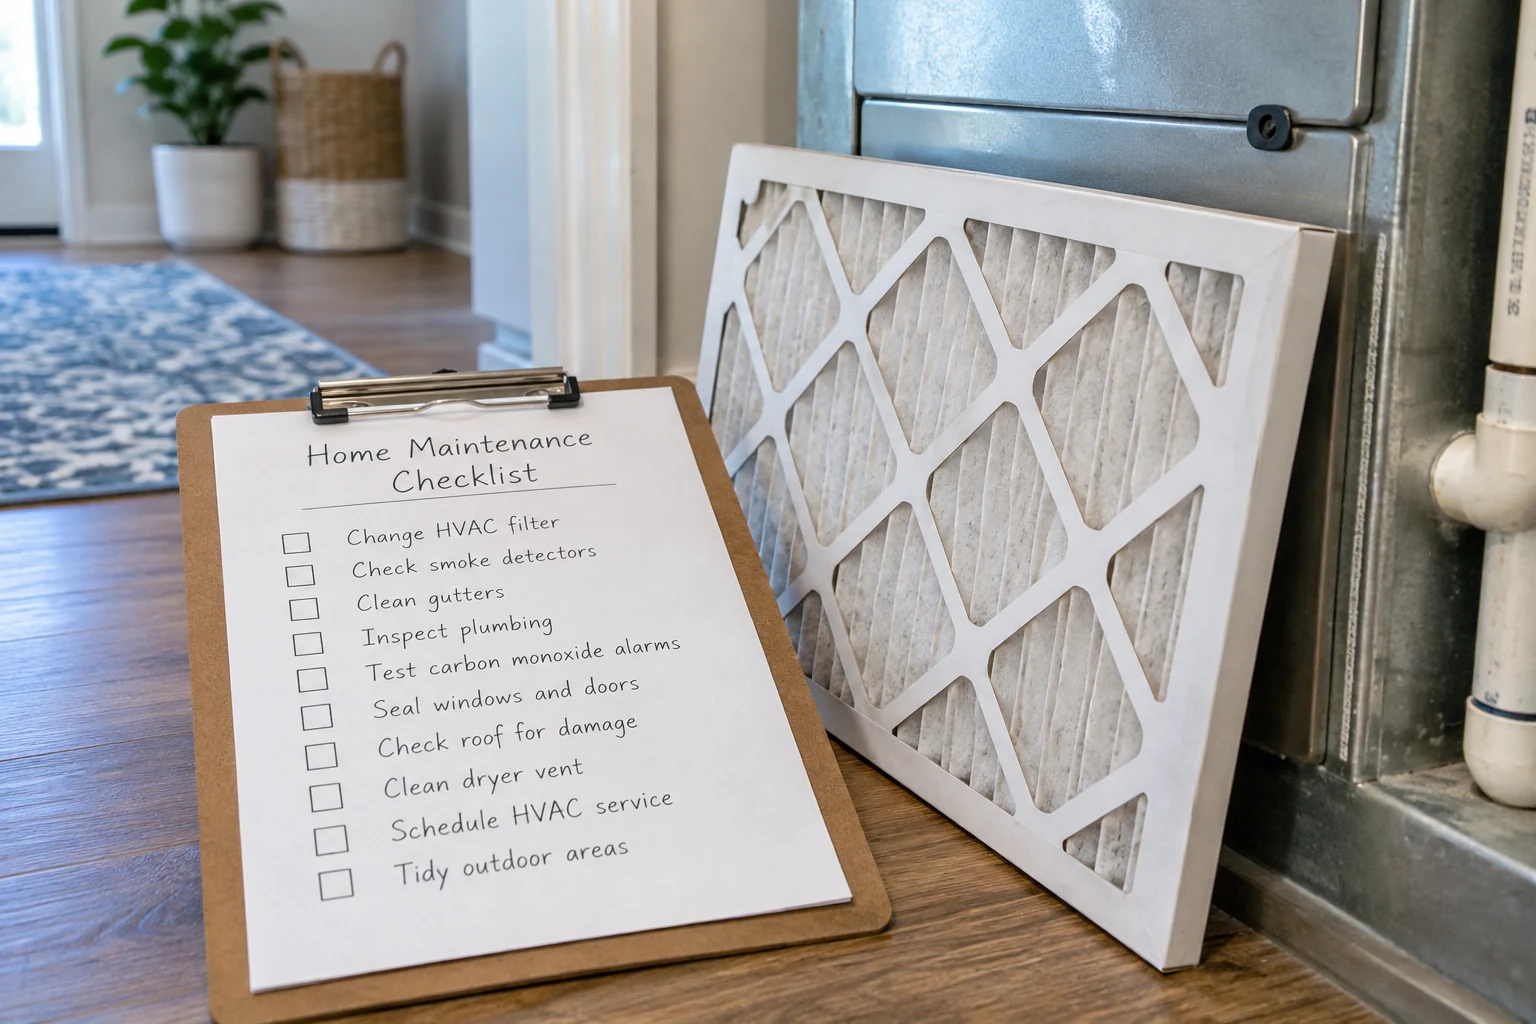
  • Inspect your HVAC filter and replace it at the interval specified for the system and filter.
  • Test smoke and carbon-monoxide alarms using their test buttons and manufacturer instructions.
Spring maintenanceSpring
  • From the ground, look for damaged gutters, downspouts or roof edges and arrange safe access for repairs.
  • Check window screens, door seals and exterior finishes for winter damage.
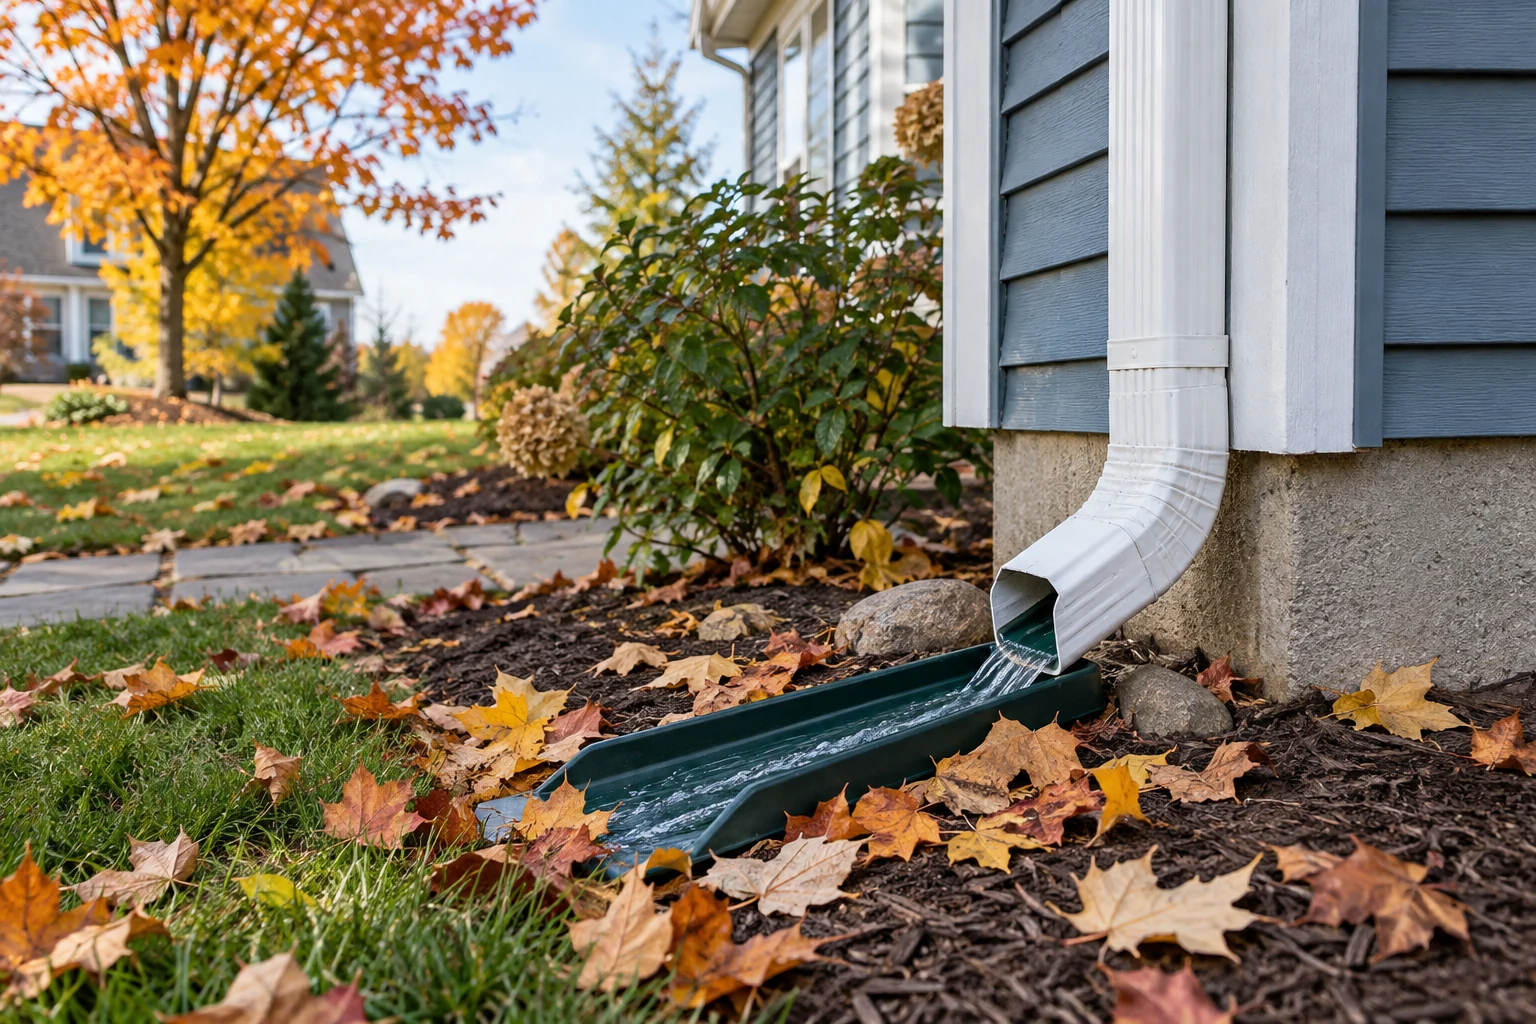
  • Make sure downspout outlets are clear and direct water away from the home.
Summer maintenanceSummer
  • Check exterior doors and accessible windows for sticking, damaged seals or loose hardware.
  • Look over deck and fence surfaces from safe ground-level access; flag loose boards, splinters or movement.
  • Check that vegetation and stored items do not obstruct outdoor equipment clearances specified by the maker.
Fall maintenanceFall
  • Arrange gutter cleaning after leaves fall; inspect from the ground rather than climbing onto the roof.
  • Disconnect outdoor hoses before freezing weather and winterize exterior water fittings according to their design.
  • Inspect weatherstripping and arrange heating-system maintenance before cold weather.
Winter maintenanceWinter
  • Watch for indoor window condensation, damp corners and leaks, and address persistent moisture.
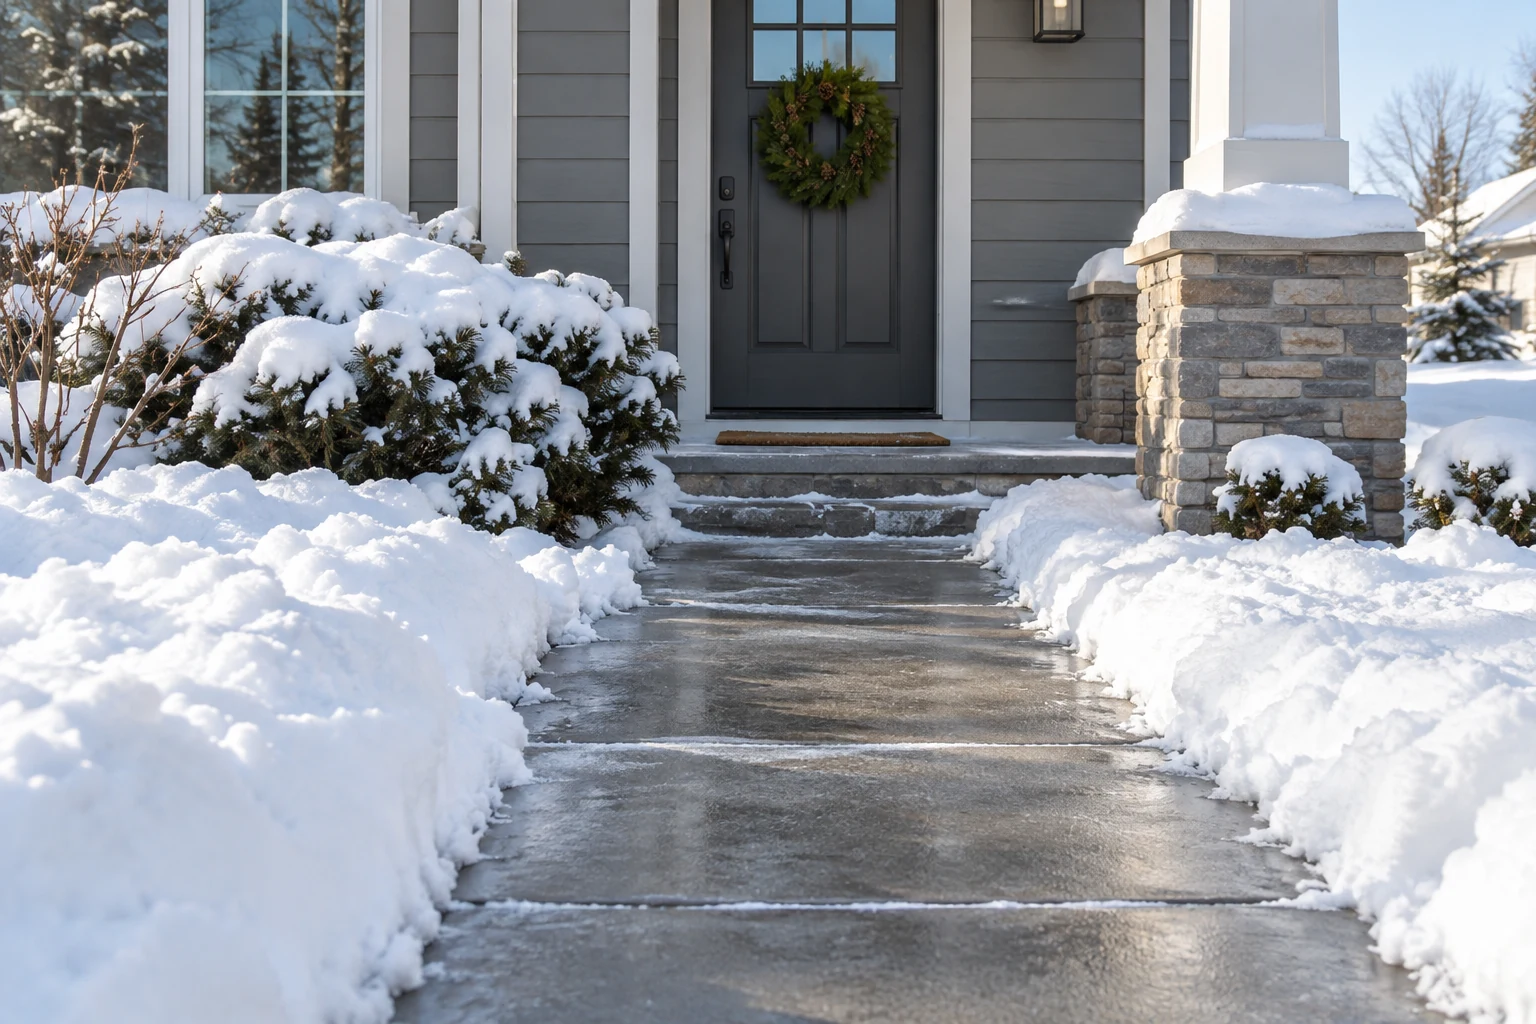
  • Keep vents and walkways clear; check exterior exhaust openings from a safe location after snow.
  • Review your repair list and check stored paint and maintenance products against their storage instructions.

LET’S GET YOUR LIST MOVING

A little repair.
A lot more peace of mind.

Tell us about your project
Call Lighthouse · (937) 626-0907